Unleash Your Inner Craftsman:A Beginner's Guide to DIY Wood Furniture
Are you tired of cookie-cutter furniture that looks the same as everyone else’s? Or perhaps you’re simply looking for a rewarding new hobby that allows you to express your creativity? Look no further! DIY wood furniture making is the perfect blend of art and practicality, enabling you to craft one-of-a-kind pieces that not only serve a purpose but also tell a story. Even if you’re a complete novice, this guide will walk you through every step of the process.
Gear Up: Essential Tools and Materials

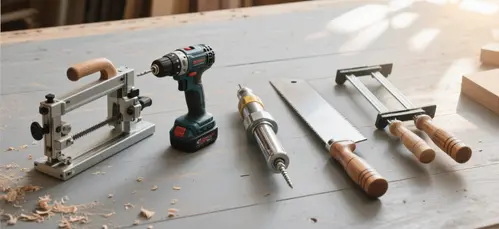
Tools You’ll Need
- Hand Saw: Ideal for beginners, a hand saw gives you manual control for basic straight cuts. It’s easy to maneuver and perfect for smaller projects.
- Jigsaw: For those intricate curves and unique designs, a jigsaw is your go-to tool. It allows you to bring your creative visions to life with precision.
- Hammer: A staple in any toolkit, the hammer is used to drive nails, ensuring your pieces are securely fastened. But be careful—too much force can damage the wood!
- Screwdriver Set: From flathead to Phillips, having a variety of screwdrivers on hand will make assembling your furniture a breeze.
- Tape Measure: Accuracy is key in woodworking. A reliable tape measure ensures your cuts are spot-on, resulting in a well-fitted final product.
- Power Drill: If you’re looking to speed up the process, a power drill is essential for quickly drilling holes and driving screws.
- Sandpaper: Available in various grits, sandpaper is crucial for smoothing the wood surface. Start with a coarse grit to remove imperfections and finish with a fine grit for a glass - like finish.
Choosing the Right Wood
- Popular Wood Types: Pine is budget - friendly and soft, making it easy to work with, great for first - timers. Oak, on the other hand, is durable and has a beautiful grain, adding a touch of elegance to your furniture. Birch offers consistent texture and good machining properties, suitable for a wide range of projects.
- Quality Check: Inspect the wood for cracks, knots, or signs of insect damage. A good piece of wood should feel dry and solid. Avoid wood with a strong, unpleasant odor, as it may indicate high moisture content or chemical treatment.
Safety First
Safety should always be your top priority. Wear safety goggles to protect your eyes from flying debris, a dust mask to safeguard your lungs from wood dust, and work gloves to prevent cuts and splinters.
Design Your Dream Piece
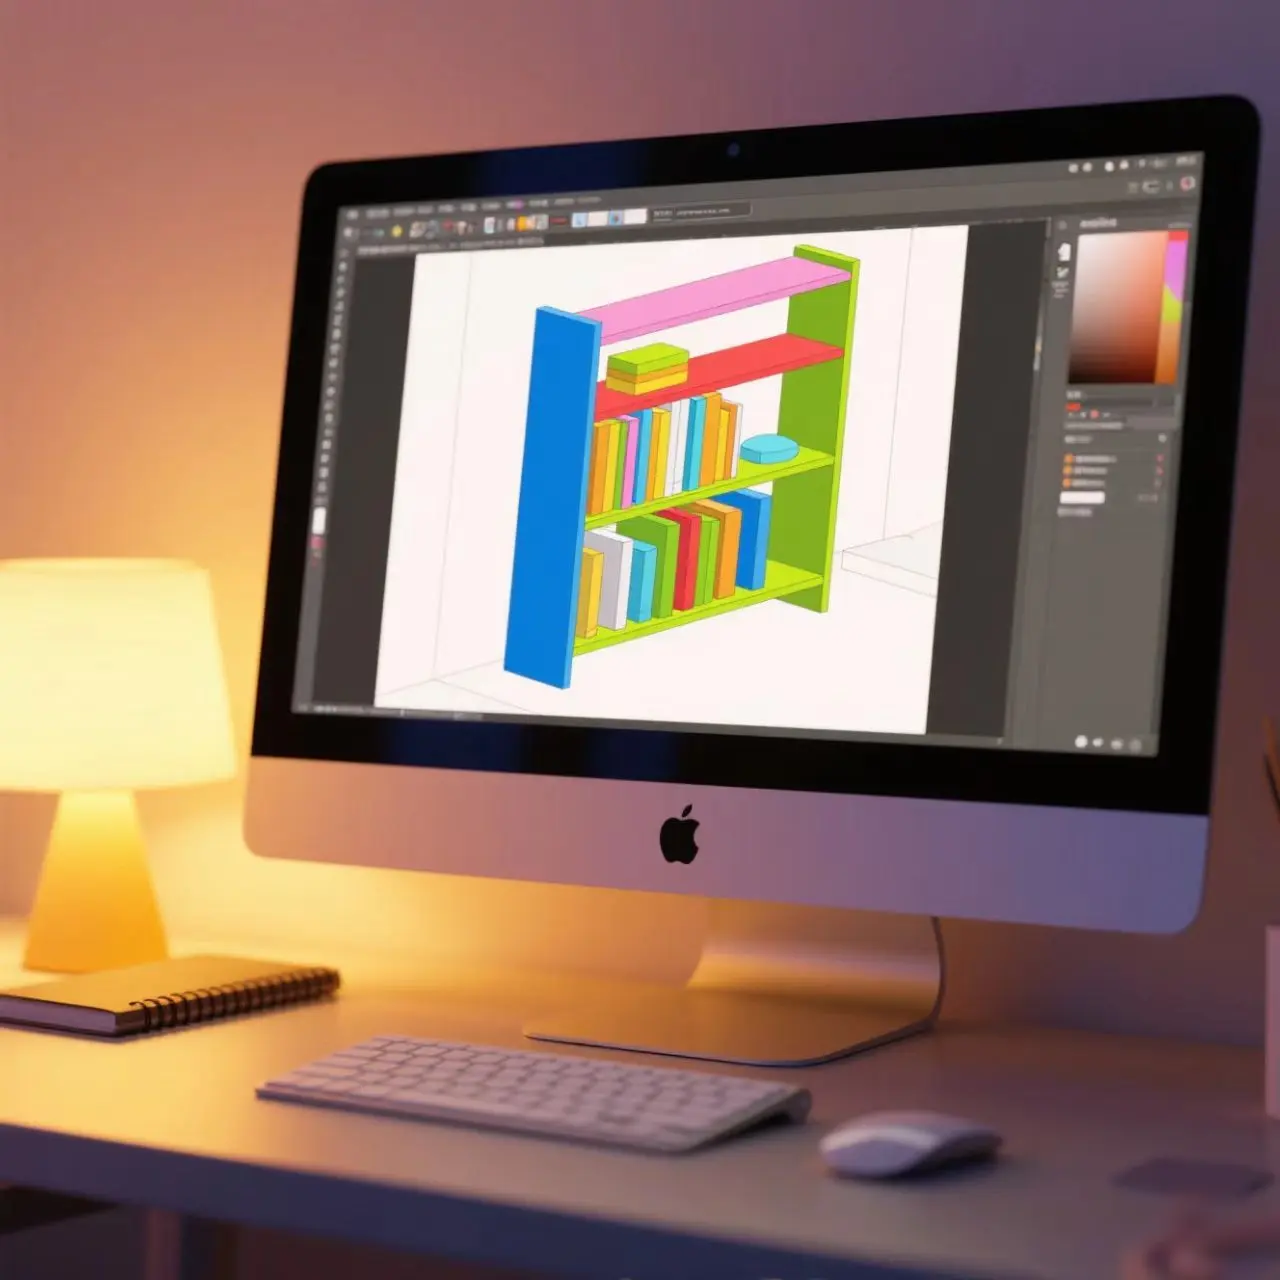
Let your creativity flow! Sketch your furniture design on paper, whether it’s a sleek coffee table, a rustic bookshelf, or an artistic sculpture. Decide on the dimensions, shape, and overall structure, keeping in mind how it will fit into your living space and complement your existing decor. If you’re not confident in your drawing skills, design software like SketchUp or AutoCAD can help you create 3D models, allowing you to visualize your design and make adjustments easily.
Bring Your Design to Life

Cutting the Wood
Using your chosen saw, carefully cut the wood according to your design specifications. For straight cuts, use a guide or a square to ensure accuracy. When making curved cuts with a jigsaw, go slowly and follow the marked lines closely. Remember, patience is key to achieving clean, precise cuts.
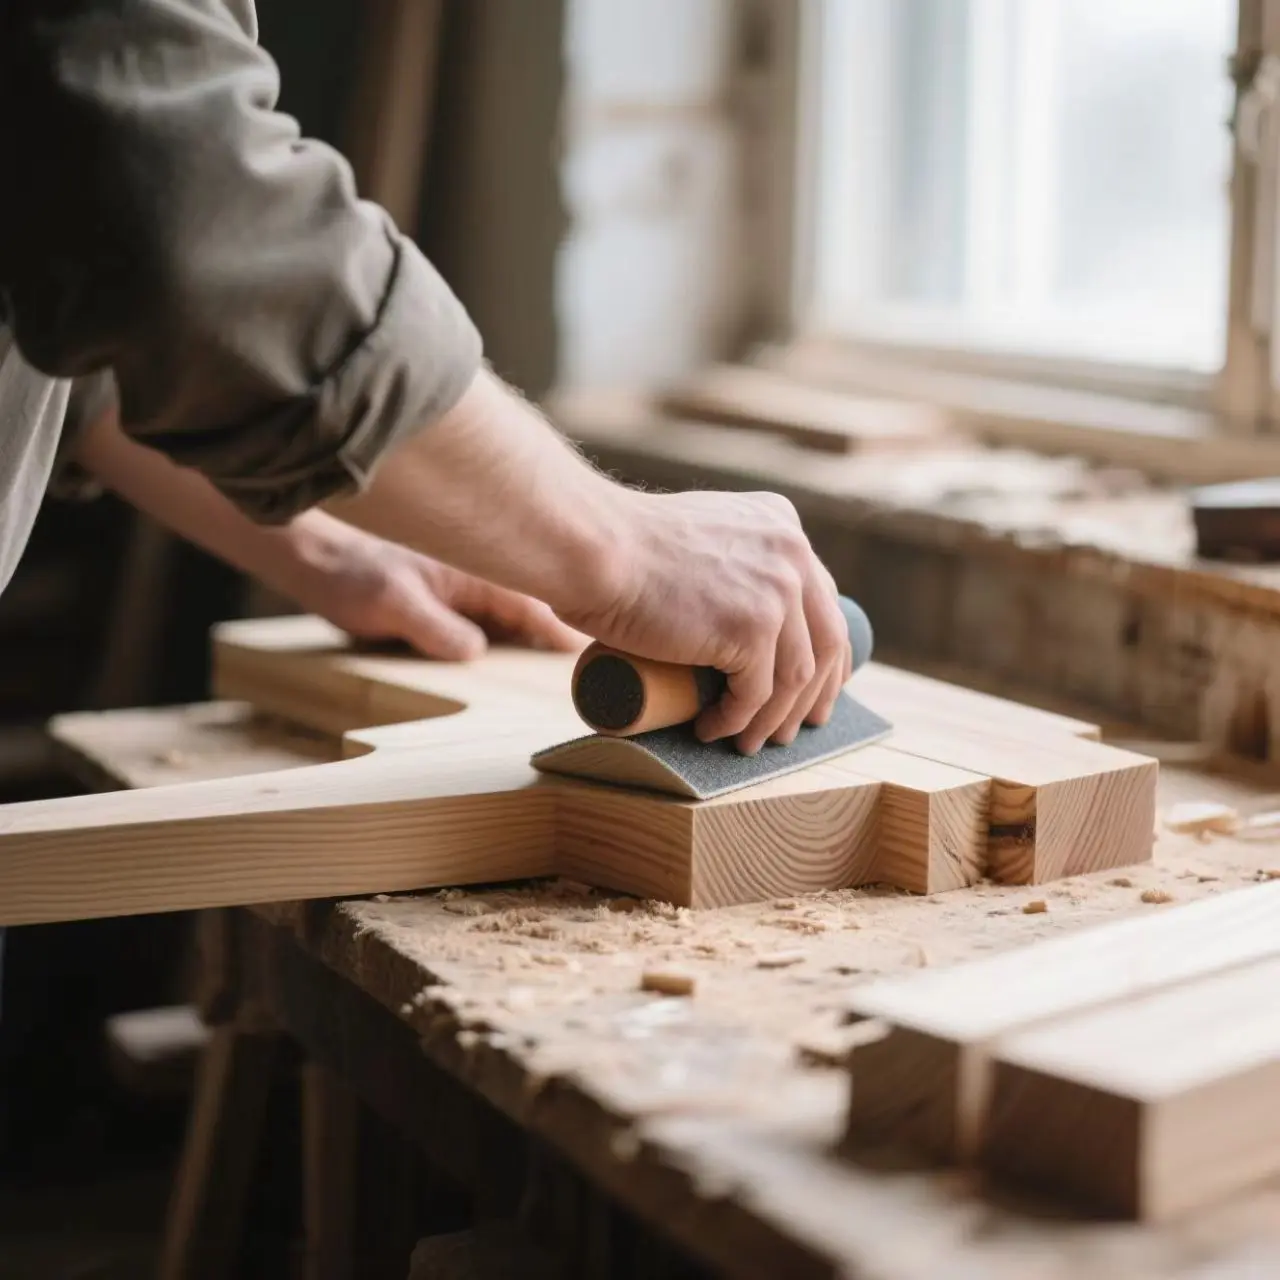
Sanding for Smoothness
After cutting, the wood edges will likely be rough. Start with a coarse - grit sandpaper to remove any major imperfections and sharp edges. Then, gradually switch to finer grits to achieve a smooth, polished surface. Sand in the direction of the wood grain for the best results, which will enhance the natural beauty of the wood.
Assembly Time
Select the appropriate joining method for your project. Screws and nuts are a simple and secure option for many furniture pieces, providing a strong connection. For a more traditional and aesthetically pleasing approach, consider learning basic joinery techniques like dovetail or mortise - and - tenon joints. As you assemble the pieces, make sure everything fits together snugly. You can use wood glue in addition to fasteners for extra strength, but be careful not to use too much, as it can seep out and mar the appearance.
Finish and Protect Your Creation
Finishing Options
- Wood Stain: If you want to enhance the natural color and grain of the wood while adding some protection, wood stain is a great choice. Available in a wide range of colors, it allows you to customize the look of your furniture to match your style.
- Polyurethane: This clear finish provides a durable, protective layer that resists scratches, stains, and moisture. It comes in matte, satin, and glossy finishes, giving you the flexibility to achieve the desired sheen.
- Wood Oil: For a more natural and eco - friendly option, wood oil penetrates the wood, nourishing it and providing a subtle, natural finish. It’s a good choice for those who want to maintain the wood’s organic feel.
Applying the Finish
Before applying any finish, make sure the wood surface is clean and dust - free. Use a brush, roller, or cloth to apply the finish evenly, following the manufacturer’s instructions. Multiple thin coats are usually better than one thick coat, as they dry faster and provide a more even finish. Allow each coat to dry completely before applying the next.
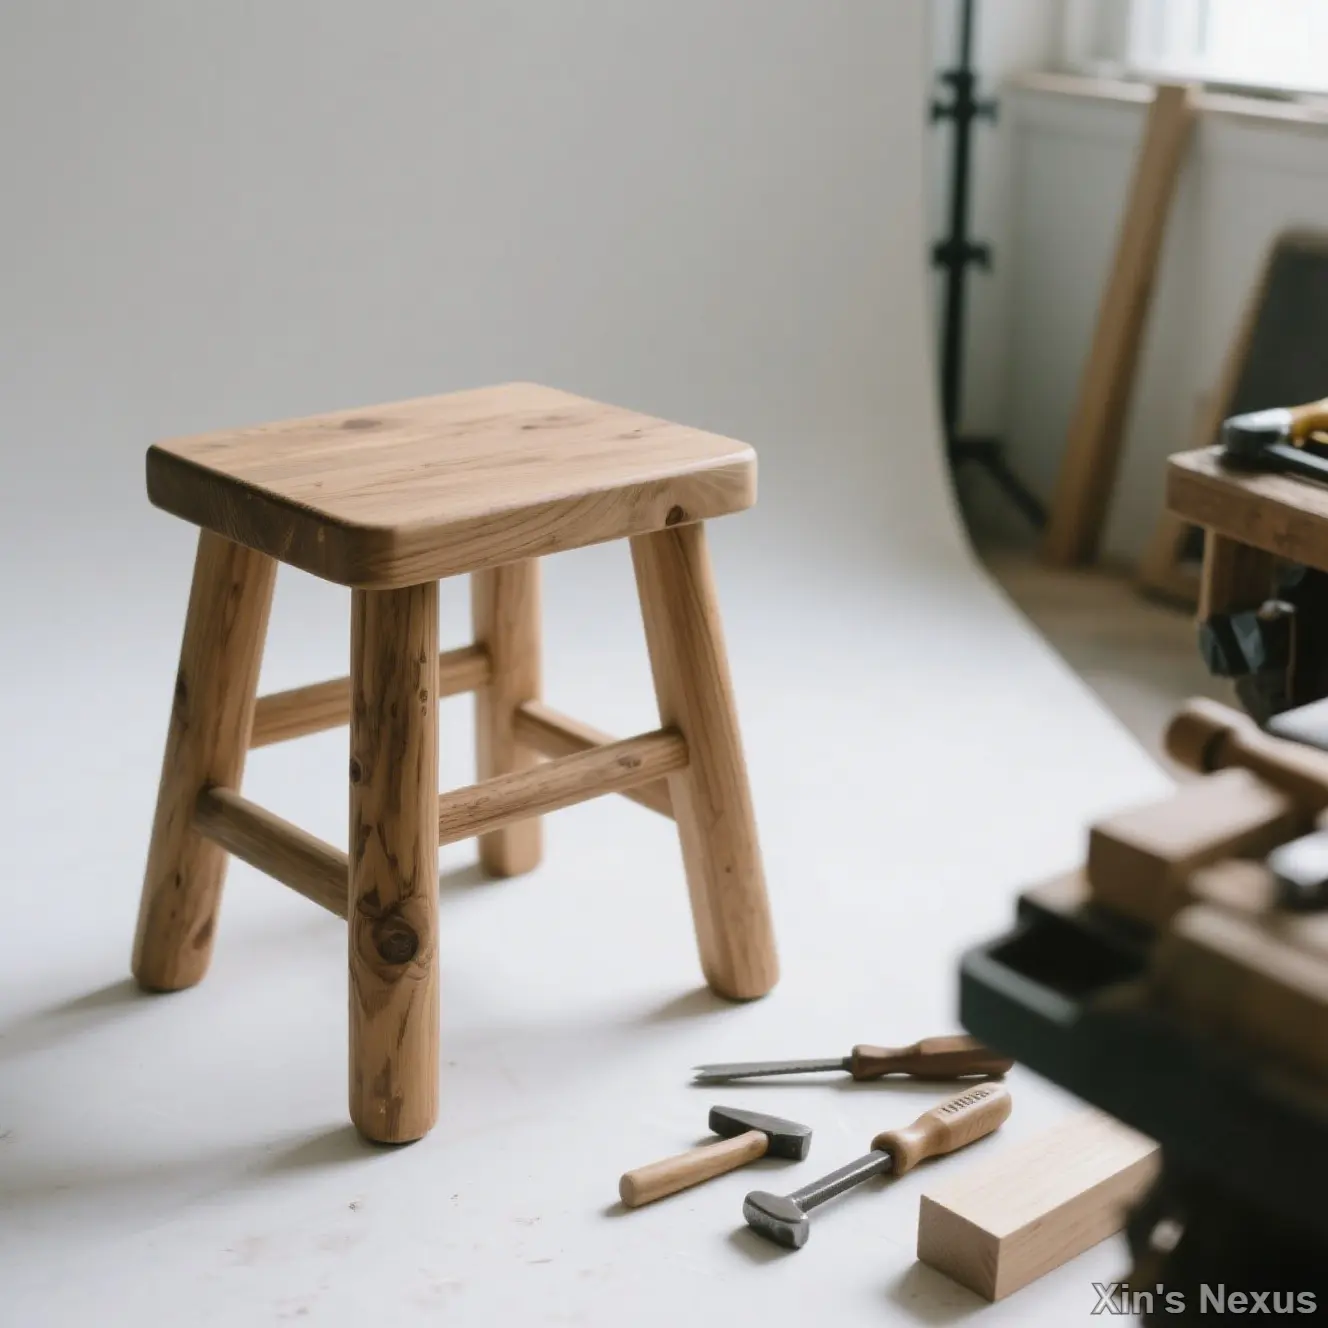
Showcase Your Handiwork
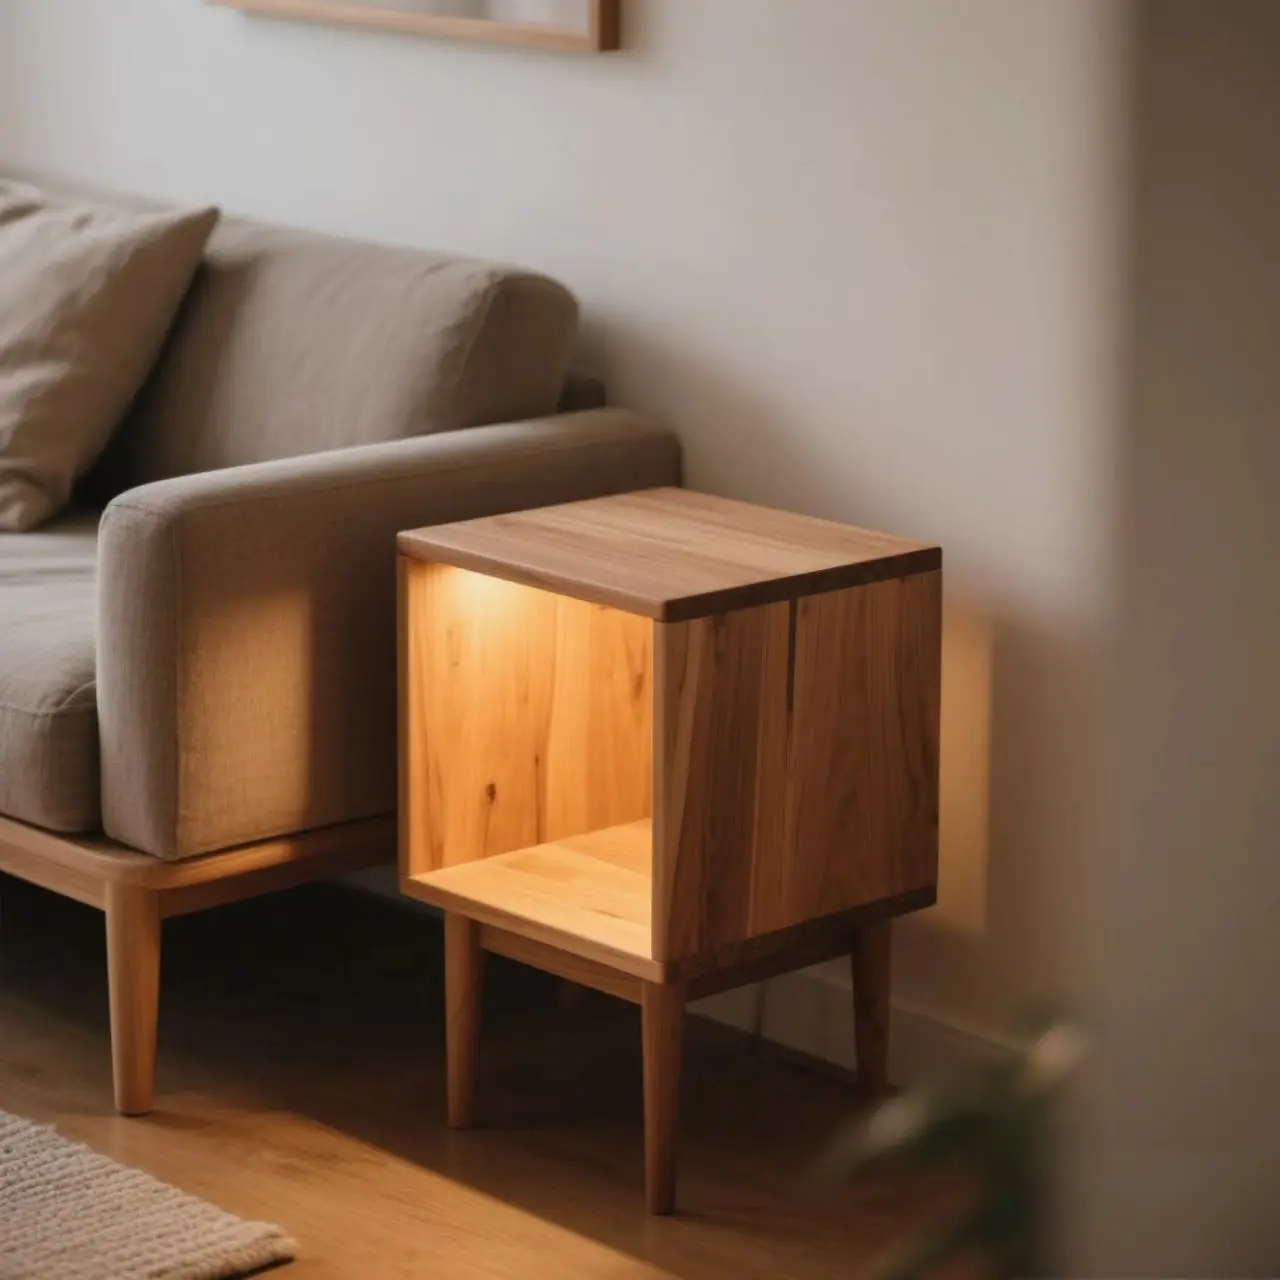
Once your DIY wood furniture is dry and cured, it’s time to show it off! Place it in your home as a functional piece of art that reflects your personality and craftsmanship. Whether it’s a conversation starter for guests or a daily reminder of your creative achievements, your handmade furniture is sure to bring you pride and joy for years to come.
So, what are you waiting for? Grab your tools, pick out some wood, and start your DIY woodworking adventure today. Don’t forget to document your process with photos and share your finished projects online. You might just inspire the next generation of DIY enthusiasts!